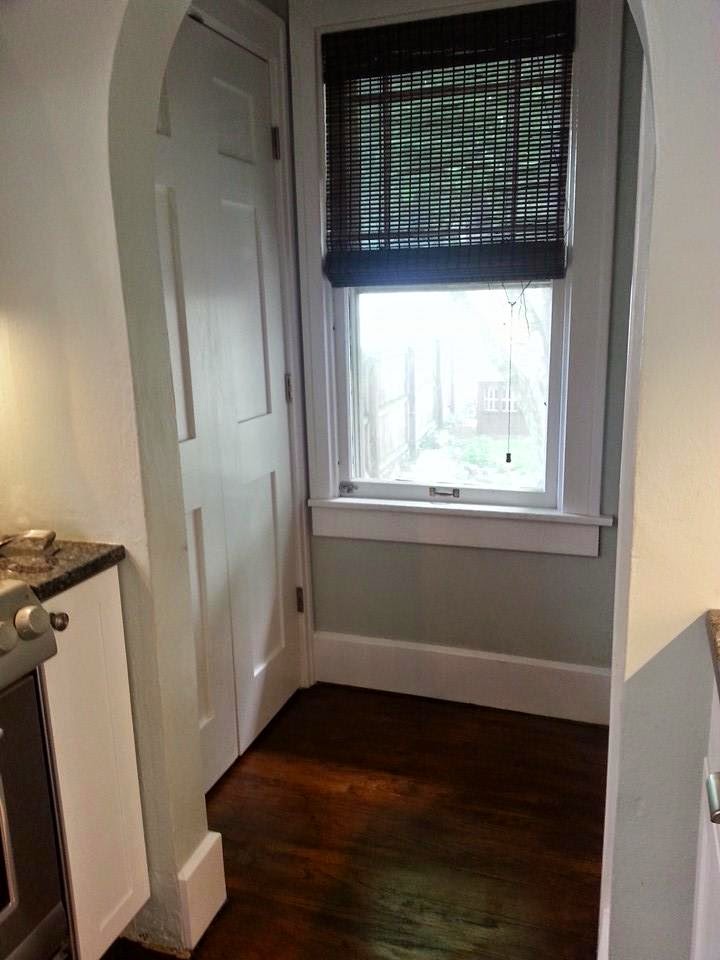
When I last left you so many months ago, I was getting ready to put hardware on my drawers, so it was pretty close to finished at that point. Sadly, these pictures still don't show the total finished space since I took them when we initially listed our house for rent, just before I refinished the floors, and before my last face plate came in for one of the outlets (You know...because SOMEONE may have cut the tile 1/8" short, and finding an oversize plate in a switch/outlet combo was next to impossible). But, before we get to the after- let me remind you of the before, and the road to get to this point...
Before...
Gosh. It was so dark, and cluttered, and dated!
Then we have some during shots...
And finally, we get through all that hard work to the AFTER!!
And here's a picture of the floors after I finished them.
I used a mixture of 2 parts English chestnut and 1 part dark walnut stain to achieve this color on the red oak floors. As is typical for me, I jumped in with both feet and sanded and refinished the floors in the entire first floor of my house over a three day weekend while my mom watched my boys. It was a busy, dusty, exhausting time- but I love how all of the floors flow throughout my house now, and how they no longer scream 80's golden oak.
I wish I had taken a picture of the new French doors and handles we put into the old pantry area. It's still a pantry, but my sweet hubby wired it and I used it as an appliance pantry to keep all my appliances off the counters. I also wish I had taken pictures of the "bells and whistles" of the room, and I definitely regret not blogging as I went because there were so many little details that I worked on in the space...but that's ok. I have pictures, and a memory, and soon I'll be back there again. :)
Sharing with:
The Dedicated House
Nap Time Creations
Domestically Speaking
Pink When
Rain on a Tin Roof
Your Home Based Mom
DIY Show Off
Skip to My Lou
Home Stories A to Z
Savvy Southern Style
Miss Mustard Seed's FFF


.jpg)


