Monday, July 21, 2014

I finished the kitchen, and then we moved...

Well, folks.  We knew it was coming.  The dreaded "move" happened this last month, and in the months leading up to the move, I did so much work that blogging about it was the last thing on my mind.  Now that the dust has started to settle, I want to take the time to do the final check in from the kitchen, and I'll be back again soon to show you my entire basement that I tackled in four months before the move, plus give you a little walk through of how I left my house (that I am currently missing SO much!)

When I last left you so many months ago, I was getting ready to put hardware on my drawers, so it was pretty close to finished at that point.  Sadly, these pictures still don't show the total finished space since I took them when we initially listed our house for rent, just before I refinished the floors, and before my last face plate came in for one of the outlets (You know...because SOMEONE may have cut the tile 1/8" short, and finding an oversize plate in a switch/outlet combo was next to impossible).  But, before we get to the after- let me remind you of the before, and the road to get to this point...

Before...


Gosh.  It was so dark, and cluttered, and dated!

Then we have some during shots... 


And finally, we get through all that hard work to the AFTER!!


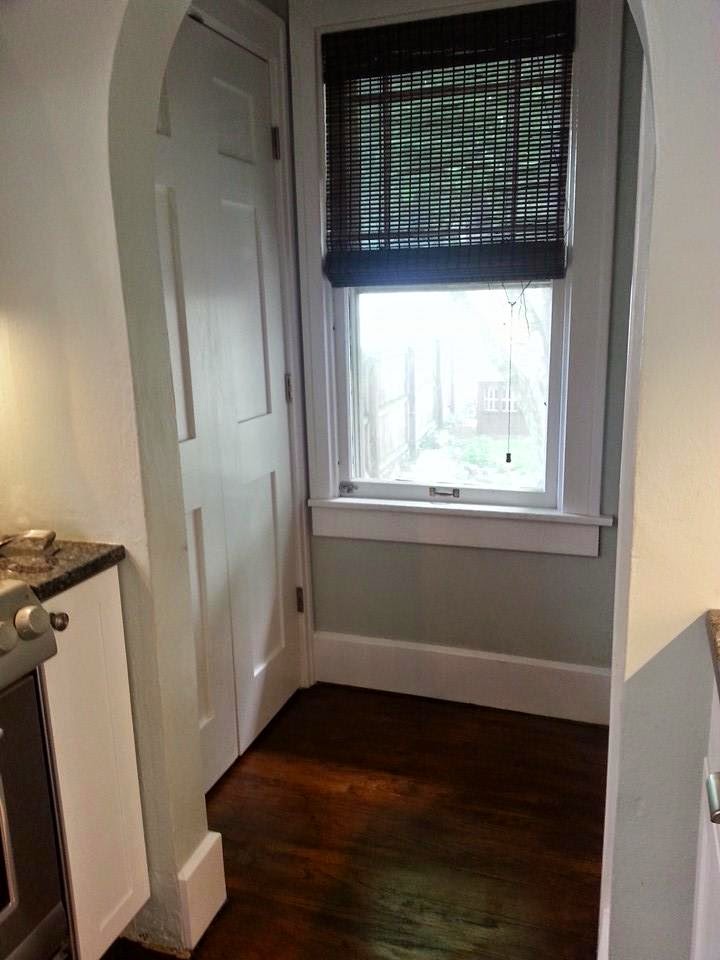
And here's a picture of the floors after I finished them.

I used a mixture of 2 parts English chestnut and 1 part dark walnut stain to achieve this color on the red oak floors.  As is typical for me, I jumped in with both feet and sanded and refinished the floors in the entire first floor of my house over a three day weekend while my mom watched my boys.  It was a busy, dusty, exhausting time- but I love how all of the floors flow throughout my house now, and how they no longer scream 80's golden oak.

I wish I had taken a picture of the new French doors and handles we put into the old pantry area.  It's still a pantry, but my sweet hubby wired it and I used it as an appliance pantry to keep all my appliances off the counters.  I also wish I had taken pictures of the "bells and whistles" of the room, and I definitely regret not blogging as I went because there were so many little details that I worked on in the space...but that's ok.  I have pictures, and a memory, and soon I'll be back there again.  :)


Sharing with:
The Dedicated House
Nap Time Creations
Domestically Speaking
Pink When
Rain on a Tin Roof
Your Home Based Mom
DIY Show Off
Skip to My Lou
Home Stories A to Z
Savvy Southern Style
Miss Mustard Seed's FFF

Thursday, January 9, 2014

Oh, Hey there Union Jack...finally.

I have been wanting to paint something with a big 'ol Union Jack flag on it for the last two years...but I kept coming up with reasons not to do it.  I've really gotten into a groove of a solid piece, painted distressed, in and out-- like this little music cabinet I did a few days prior to the Union Jack (it's Tricycle MMS Milk Paint).


The massive basement/garage clean out I've been working on though finally pushed me to do it.  I spaced, and didn't take a before picture, but trust me when I say this vintage buffet was begging for some love.  I picked it up for free out of someone's garage, covered in dirt, and plopped it in my garage where it stayed until last weekend.  I pulled it inside and started playing with it.  I thought I'd just do it with a navy- stain the legs, maybe stain the framed inset (it's the only detail on the buffet).  It didn't work.  It just was so blah. (And ALL of my pictures are terrible phone pics right now... so sorry!)


There was just nothing special about it, so I started looking at Union Jack dressers online again.  My mom stopped by and told me I should do it, and when Mom says to do something, I usually do.  I went ahead and covered the inset piece in blue, and started measuring and taping.  I used the template below, and did a bit of algebra to figure out how wide my lines should be.


Since my buffet was longer than would correlate to the flag, I made my "x" from the horizontal measurements for my vertical ones as well so the flag wouldn't be misshapen.

If it's been a while since you've had an algebra class- I'll give you a little refresher.  This is using the measurements along the side.  Your equation will be:
10x+2x+6x+2x+10x= The height of your flag on your dresser (mine was 22.5)
30x=22.5
x=22.5/30= .75

So, when I measured every line, I multiplied the individual measurements by .75
10x=7.5
2x=1.5
6x=4.5

I hope that made sense.  When you calculate your measurements you'll use your own dresser height, so your numbers will come out different, but this is how to actually figure them out.

Measure, mark, and tape.


After getting to this point, you use a very sharp knife to cut out the tape that's on the inside of the cross, then paint.


After the paint has had a chance to dry, you'll measure again and tape off where your red should be.


Paint inside your lines, and remove your tape.  I always remove my tape while the paint is still wet.  This gives nice crisp lines and reduces the chances of pulling paint off with the tape.  At this point you'll probably have a few bleeds here and there that you will need to touch up.  After you do that, you'll be at this point...


You'll probably have a hard time not staring at it forever and thinking about how awesome it looks.  I know I did.  It's such a bold design.  I really love it.

I went ahead and distressed the tops and sides like I normally do, and lightly distressed the front to tie it in, but not so much to ruin all that work I just did!


Then I flipped it on it's back, and sanded and restained the legs in a dark walnut color.  I sealed the whole piece with four coats of semi-gloss polyurethane, and added the original, cleaned up hardware back onto it.


It turned out fabulous, and I'm glad I finally decided to paint one of these!

For those who may be wondering, the blue is Valspar's Jazz Club, the red is also Valspar in Front Door, and the white is Ben Moore's Decorator's White.