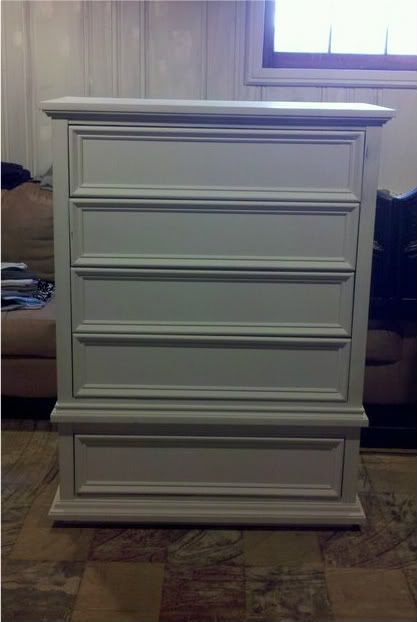
This is Betsy. Wasn't she a sad little dresser?
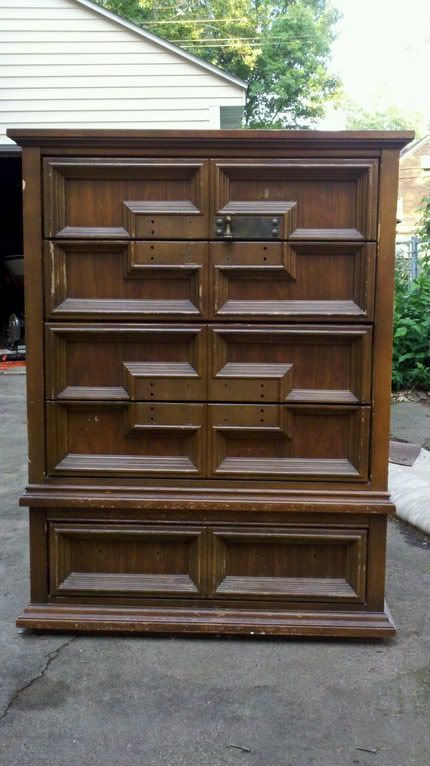
Note that she DID have all her hardware, but I was impatient and started to work on her right away before I thought about getting pictures...and unfortunately all of these before pictures are poor quality from my cell phone.
She was free from a lady on Freecycle who wanted her out of her garage. She'd certainly served her purpose for years to someone named Jennifer, possibly a Jem, and a couple of other names I found written and/or carved into her top, sides, and drawers. Betsy wasn't the best possible candidate since she's not solid wood but not the worst either. The rails (horizontal framing) and stiles (the sides, or the two vertical pieces of the frame) are solid from what I can tell, as well as the molding, but the top is veneered, but with a nice old vaneer that was thick enough to withstand enough sanding to get the carvings out.
As I started sanding the front, I quickly figured out that those
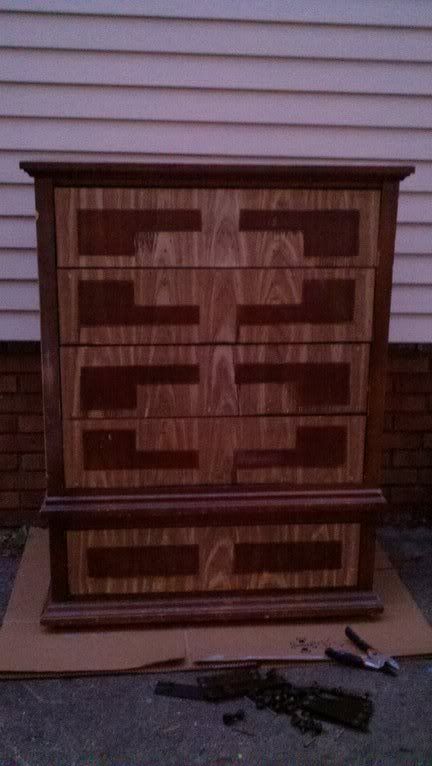
Beautiful, right? I continued sanding her down with my dustless Craftsman random orbital sander that I picked up at Sears on sale for ~$35. After all the names were removed, and all the protective coating sanded down, I wiped her down, and started priming with Kilz original spray paint.
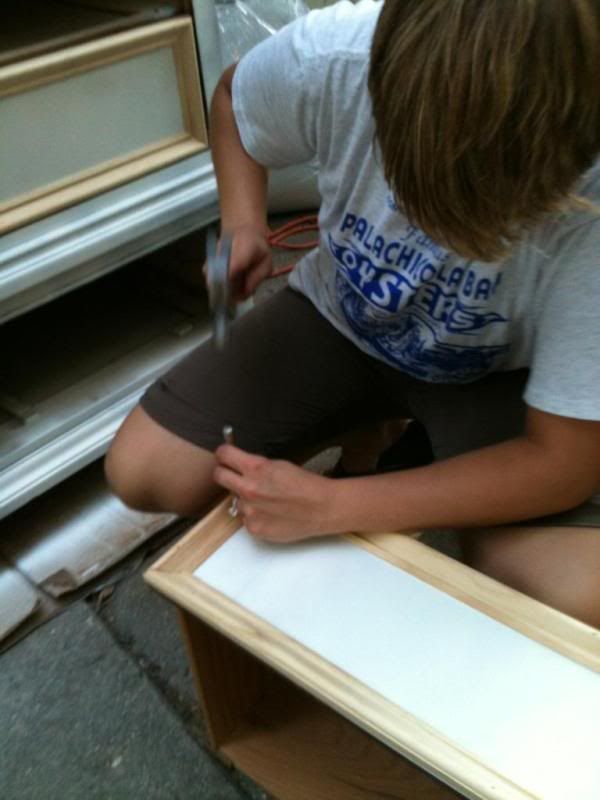
I wasn't very happy with the results from the Kilz spray. It had too many spots where it bubbled and needed to be sanded away completely to fix it. I sanded those spots well, and went all over her with a fine sanding sponge just to smooth the finish out. I just didn't like the look of the drawers without any molding. She looked more sad than before to me, so I ran out and bought new molding at Lowes for around $30.
I measured, and cut the pieces, and applied them with wood glue and brad nails (using a set to push them deeper). Then I covered the holes with more wood putty, and sanded them smooth. I used a caulk in the corners and around the inside and outside of the new trim to make the drawers look seamless.
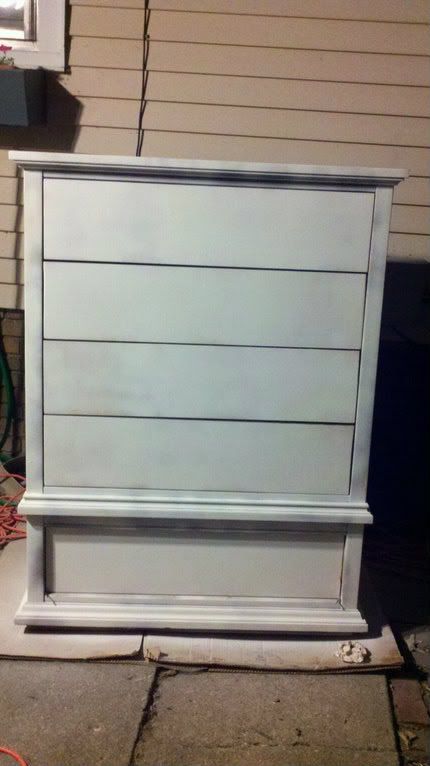
Then I re-primed her with latex Valspar high hiding primer I had on hand, and a paintbrush, making sure to use long strokes in the direction of the grain.
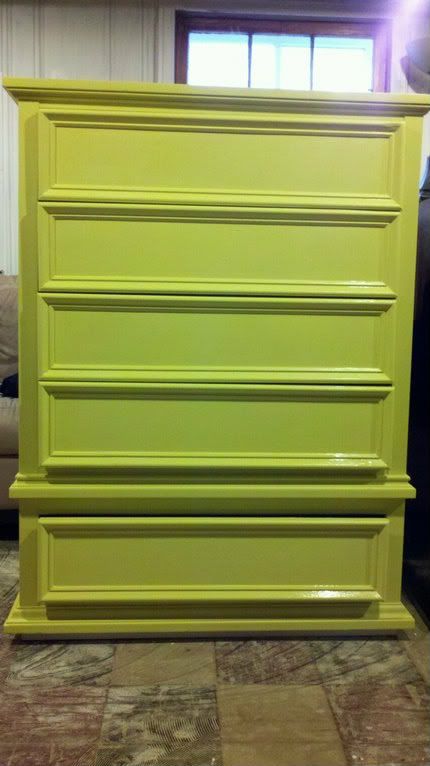
Isn't she looking so much better with a face lift?! I sanded her lightly again to get rid of any brush strokes, and painted her a pretty yellow color I picked out at Lowe's (citrus/lemon something or another). For the paint on ol' Betsy, I used Valspar in a satin latex finish as lower sheens tend to hide imperfections better than gloss finishes. Two coats of paint, and I was left with this bright yellow dresser.
I have loved the idea of a yellow dresser in my grey room with the cream trim for a long time, but seeing Lindsay's dresser over at Living with Lindsay really set the color for me. I love her finished dresser, but didn't want to go quite as distressed, and also couldn't take the jump to do mismatched pulls.
Anyhow, after letting her dry, I scuffed up the edges a little with a 100 grain sandpaper, and then went over that with a fine sanding sponge to really smooth it out. Then I stained her with Minwax stain in dark walnut. After the stain dried, I put a nice coat of polyurethane on.
The final step was hardware, which I realize I should have drilled holes for in the beginning before the paint process. I used the original hardware from the bottom drawer, and some other hardware I picked up at my local Habitat for Humanity Restore for $.25 a piece. I cleaned them off really well with soap and water, and scrubbed them with a metal brush to scuff the finish, and then sprayed them with Rustoleum's oil rubbed bronze with built in primer.
The last final detail touch was to line the drawers. I used a wrapping paper from Hallmark for this task, and I will do a how-to on it soon! All that, and Betsy finally has a new life.
Let's take another look at the before again:
And finally, here she is after in her new life!


Big difference, right? I'm always amazed at what a little extra trim and paint will do for a piece! I think I'm more in love with her than I should be...which is more than I can say about my Hubs. He's not digging the yellow, and thinks I'm crazy for painting her that color. What do you think?


I love it!! She's gorgeous!
ReplyDeleteWhat a great transformation!! Never thought about taking the inlays off & replacing it with trim! And I love the yellow, it's a very "in" color right now and the husbands are always the one's to make us second guess our color choices, but I've learned not to listen...if I did every piece I paint would be black or stained in bombay..LOL
ReplyDeleteYellow brings a smile to the face:)
Desiree
www.CamelotArtCreations.blogspot.com
i love the yellow :)
ReplyDeletewhat is the brand of the yellow paint?
ReplyDeleteThanks for the compliments, ladies! The paint was Lowe's Valspar signature color line.
ReplyDeletewow-beautiful---so jealous--wish she lived in my house! now I am off to see what this whole freecycle thing is about?
ReplyDelete